
How to Write a Blog Post That Ranks: A Step-by-Step Guide
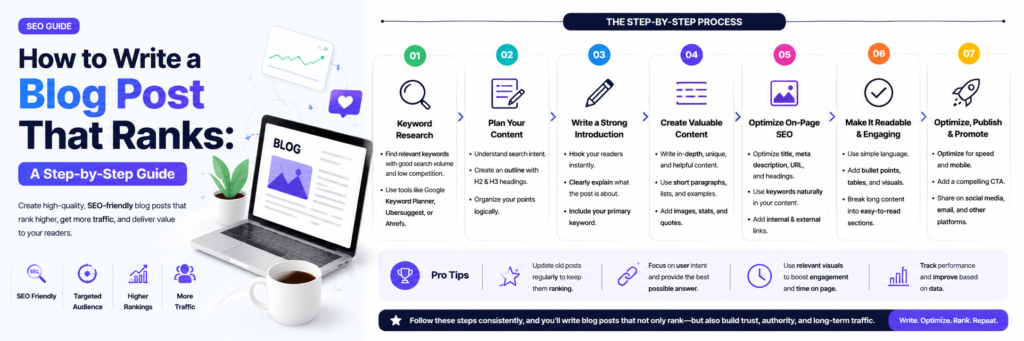
Blogging is one of the most effective and cost-efficient ways to grow your organic traffic. Every high-quality blog post you publish is a new page that can rank on Google, attract visitors, and bring potential customers to your website for years to come.
But there is a big difference between writing a blog post and writing one that actually ranks. This step-by-step guide shows you the exact process for creating blog posts that Google loves.
A strong blog strategy works best when it is part of a complete SEO plan. Effective Search Engine Optimization helps your content rank higher, attract targeted traffic, and generate long-term business growth.
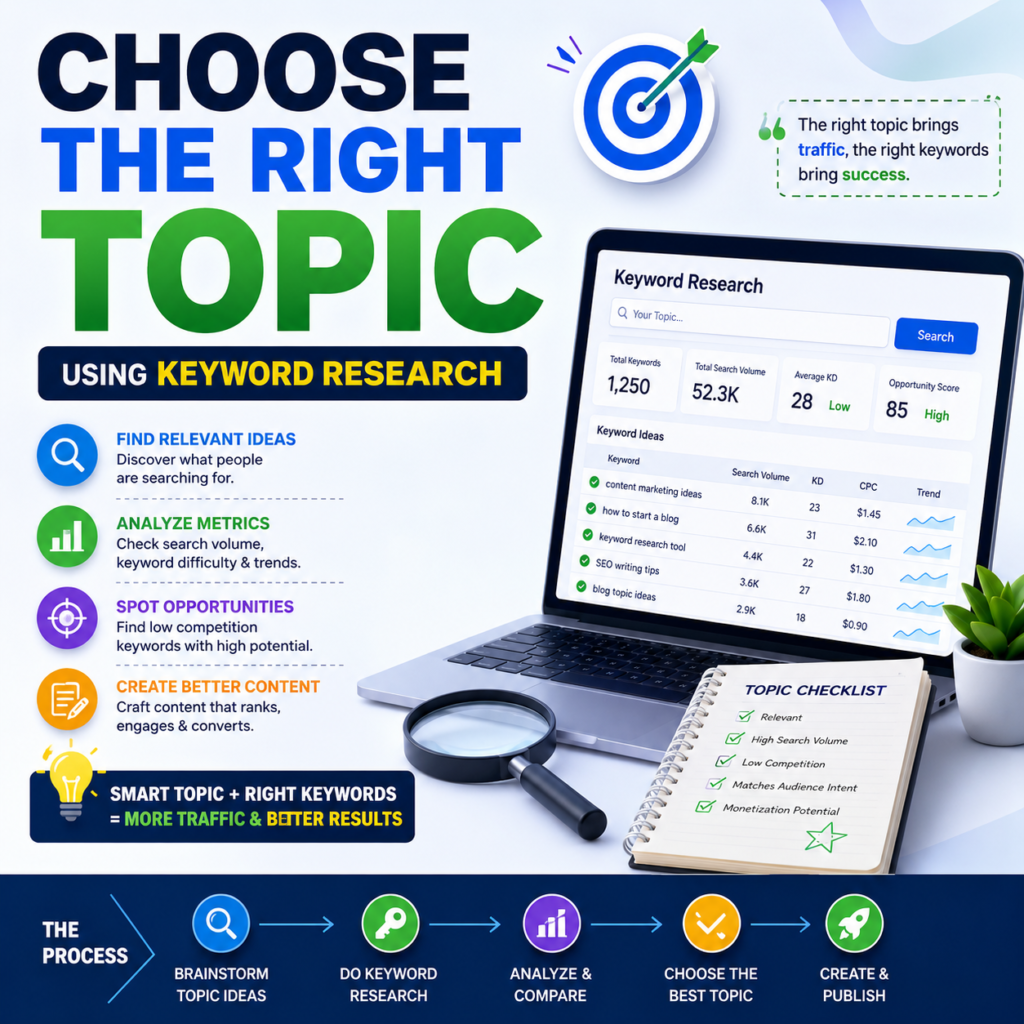
Step 1: Choose the Right Topic Using Keyword Research
Never pick a blog topic based on what you feel like writing about. Pick it based on what your target audience is actually searching for. Use keyword research to find questions and topics that have search volume and are relevant to your business.
Target a primary keyword for each blog post. The post should be built entirely around answering the question or covering the topic that keyword represents. Also identify three to five secondary keywords, related phrases you can naturally work into the article.
Step 2: Analyze the Top-Ranking Competitors
Before writing, search your target keyword and read the top three to five ranking articles. This tells you: what format Google prefers for this topic, what sub-topics and questions the article should cover, approximately how long the content should be, and what you can do better or differently.
Your goal is not to copy. Your goal is to understand what the search engine values for this particular query and then create something more comprehensive and useful.
Step 3: Create a Detailed Outline
Before writing a single sentence, build a detailed outline. List your H2 headings (major sections) and H3 sub-headings for each section. Note the key points you want to make in each section. Decide where you will include internal links, images, and calls to action.
An outline saves time, prevents writer’s block, and ensures your article is logically structured and comprehensive.
Step 4: Write a Compelling Introduction
Your introduction has one job: keep the reader reading. The best introductions start with a hook, an interesting fact, a question, a bold statement, or a relatable problem. Then quickly establish what the article covers and why it matters to the reader.
Do not spend three paragraphs introducing yourself. Get to the point fast. Readers, and Google, reward concise, focused introductions.
Step 5: Write the Body With Clarity and Depth
Work through your outline section by section. Write short, clear paragraphs. Use examples to explain complex ideas. Include data and statistics from credible sources where relevant. Use bullet points and numbered lists to make scannable information easier to digest.
Make sure every section answers a real question or provides genuine value. If a section feels like filler, cut it or rewrite it until it earns its place.
Step 6: Optimize as You Write
Work your primary keyword into the first 100 words. Include it in at least one H2 heading. Use secondary keywords naturally throughout the article. Write a descriptive alt text for every image. Add internal links to relevant service pages and other blog posts.
For faster authority growth and stronger backlink profiles, many businesses also invest in professional Guest Posting Services. High-quality backlinks from relevant websites can significantly improve rankings and domain authority over time.
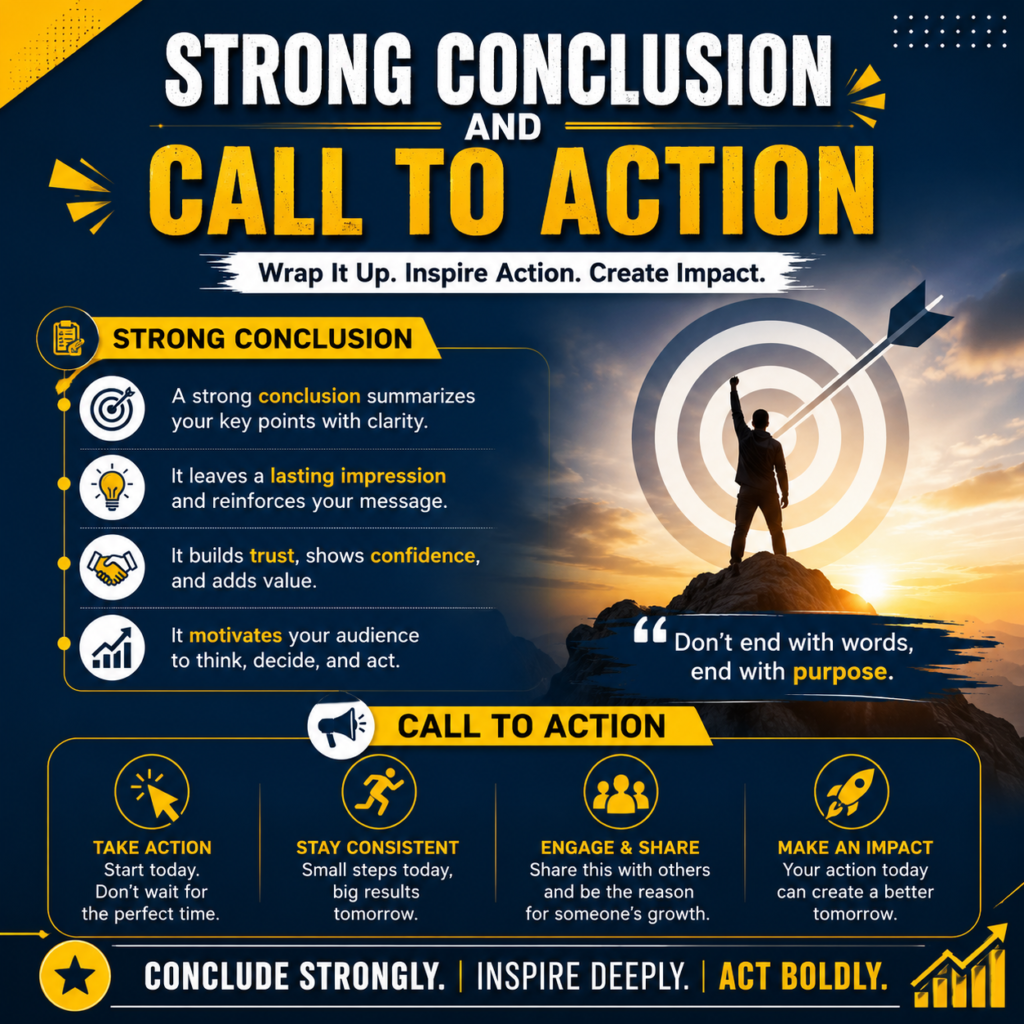
Step 7: Write a Strong Conclusion and Call to Action
Summarize the key points of the article briefly. Then give the reader a clear next step. The call to action can be an invitation to contact you, a link to a relevant service page, or a prompt to read a related article.
Step 8: Edit, Proofread, and Polish
Never publish a first draft. Read the article aloud, this catches awkward phrasing your eyes miss when reading silently. Check every link. Verify all facts and data. Check spelling and grammar. Make sure the article flows logically from start to finish.
Step 9: Optimize the Technical On-Page Elements
Before publishing, optimize: the page title (H1) to include the primary keyword, the SEO title (what appears in browser tabs and search results), the meta description, the URL slug (make it short and keyword-rich), and image file names and alt tags.
Frequently Asked Questions
Q1: How do I know if my blog post is ranking?
Use Google Search Console to track which keywords your posts appear for and at what position. Google Analytics shows you traffic coming from organic search.
Q2: Should every blog post target a different keyword?
Yes. Each blog post should focus on a unique primary keyword. Targeting the same keyword with multiple pages creates ‘keyword cannibalization’ which can hurt your rankings.
Q3: How often should I publish blog posts?
Quality over quantity. One excellent post per week is better than five mediocre ones. Establish a sustainable schedule you can maintain consistently.
Q4: Should I write the content myself or hire a professional?
If writing is not your strength, or if you do not have time to do it properly, Hiring professional Content Writing Services can deliver far better results. Sky Rocket Rankings has a dedicated content writing team that creates SEO-optimized blog posts tailored to your business.
Q5: Can old blog posts be improved to rank better?
Yes! Updating and expanding old content is one of the quickest SEO wins available. Add new sections, update statistics, add internal links, and improve the meta description. Google rewards freshness.
